There are possibly thousands of posts on how to base infantry on the bases for wargaming games. Correct.
Lately I found my personal best way of doing so.
What is needed:
Base - Plasticcard, bought ones, mdf , whatever suits you best
Filla- I am using the one by Polycell as it is really wet and easy to handle
Colours - for my purpose I am using as a basecoat colour Citadel "Calthan Brown" and
for highlighting Vallejo 873 "US Field Drab"
Flock - every flock will do. If you want it as colourful as here in my boy feel free to add some sand or mix different flocks
The technical details:
First I take my already painted miniatures and arrange them on the bases without glueing them. It is just to get an impression how all should look like.
Second step is to remove all the figures again and it is up for the filla. Start pasting it on the base without making it a flat piece of "earth". Mother nature always likes things a bit disorderly on the ground. So no worries if it is not a flat piece but some sort mixed up piece of land.
Third step. As the filla is still wet and as I did not write anything regarding superglue etc... it is time to take the miniatures and to press them into the wet filla till it reaches the base. Use either a knife or on old brush to fill something in the gap between the legs.
Fourth step..... drying. Normally I let the stuff dry one day, but filler tends to harden quite fast so you should be able to work on after approx 15 minutes. Test if all miniatures are secured by the filler. If not then use superglue.
Fifth step...basecoat the filler with Citadel "Calthan Brown".Please be careful as the miniatures are already on your base that you do not paint the shoes new. If you leave out a small section around the miniatures that doesnt make any problems.
Sixth step.... wait till the basecoat is dry. Then use Vallejo "US Field Drap" for highlighting the later higher ground areas of your base.
Seventh step.... use simple glue and your old brush to put on areas there you want the flock to be. In this step you can hide the areas there you did not dare to paint the basecoat and highlight colours easily.
Last Step... take your flock and pour it over your base. Wait a couple of seconds and then clean up the debris that does not stick... take a look at your result and make adjustments.
Advanced design:
between step three and four you can also start to add some extras. This could be:
- Small stones
- wood parts
- etc... simply everything you want to have on your base
Happy building
The pictures:
Things I use:
After basecoating:
Final result (advanced):
Final result (as described):
All around Wargaming with Flames of War. Also Terrain Building, Painting and WIP/Tutorials
Samstag, 15. September 2012
Freitag, 14. September 2012
Flames of War (Tutorial) : How to build simple houses / barns for Wargaming
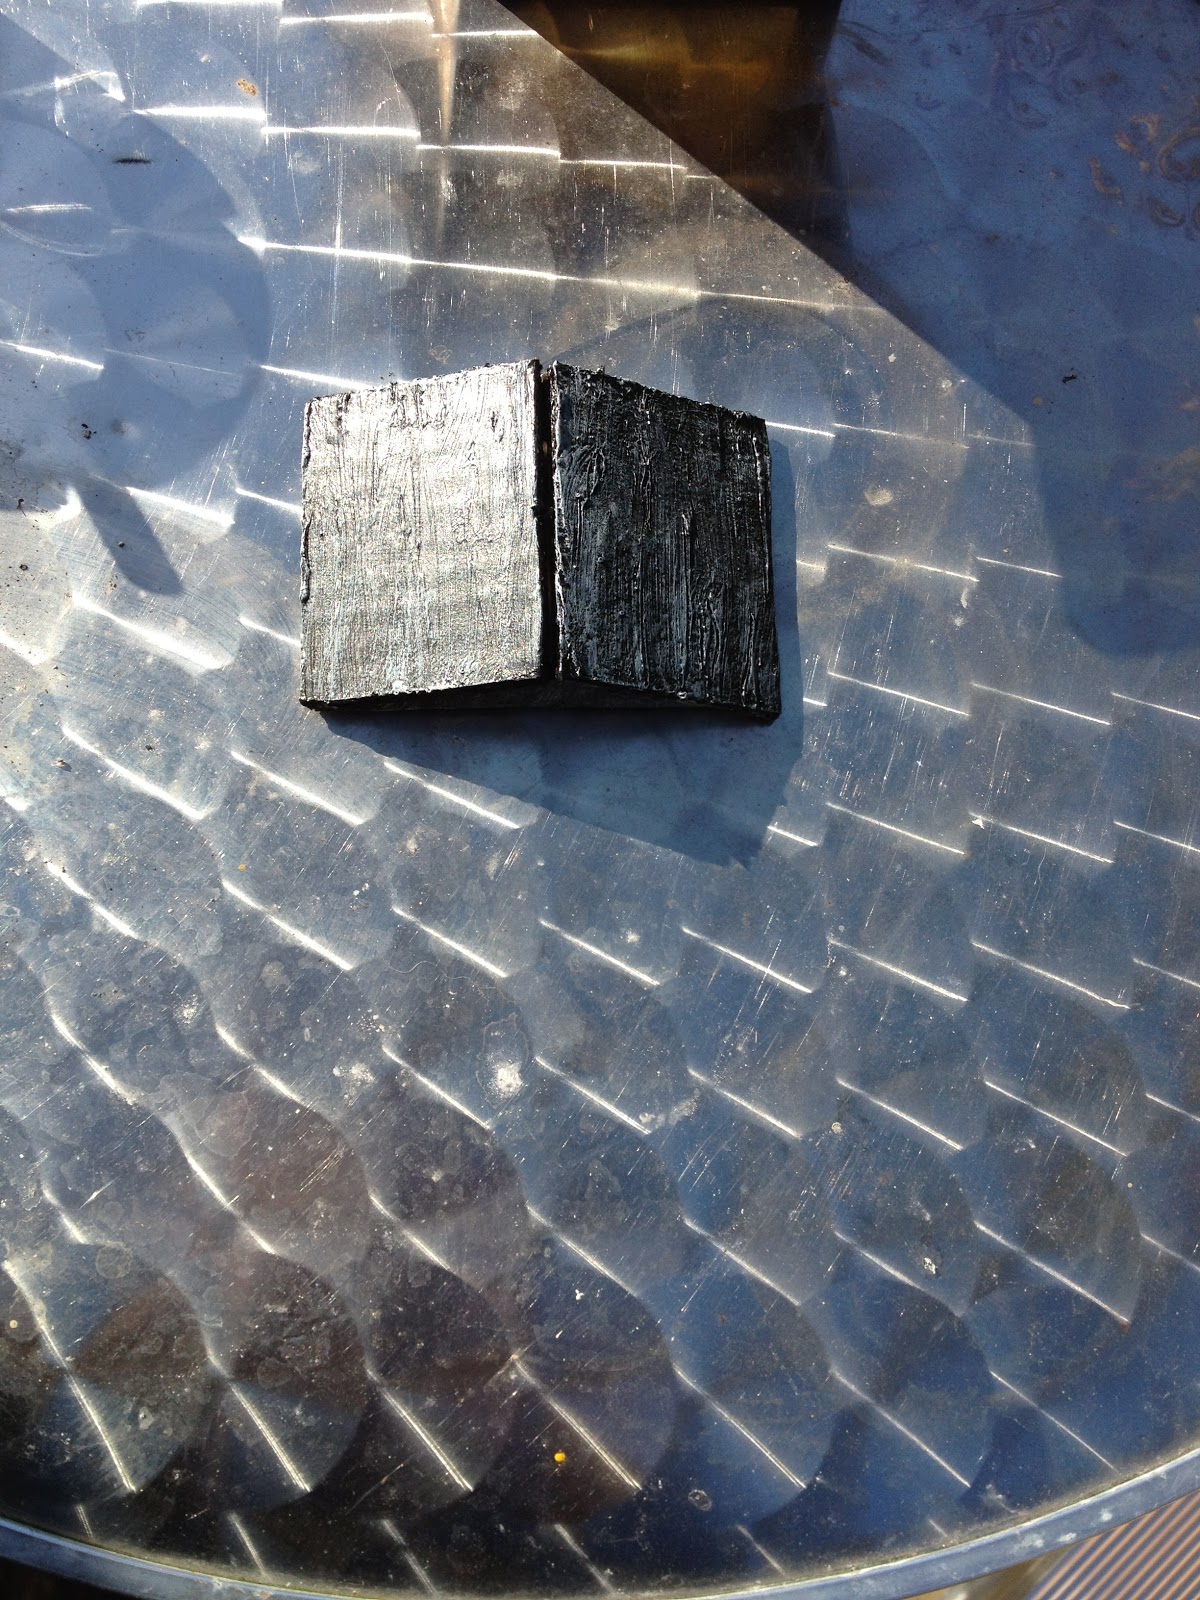
Lets start with a Tutorial for houses and barns in 15 mm style.
My first impression and hinderance was scaling the whole house. So I took two medium bases by FoW and added 2,5 mm on each side. That makes a house worth 8 by 6,5 cm (wide and length). For getting it high enougth I took some sample miniatures and scaled approx 2,5 to 3 cm for the first floor. The roof is again another topic. At this tutorial it is approx 2 cm heigh.
After doing the initial drawings on a piece of paper I transfered it to an old and unused papercard and cut it out with a knife. After that I basecoated it with a special paper basecoat so that it does not crumple somehow and then basecoated it with the real paint. A bit of drybrushing and glueing made a perfect barn for anythere during WW2...
For the colours used here:
Basecoat: Styropor Grundierung "Ideen mit Herz"
Basecoat colour: GW Citadel Undercoat Black
Drybrush : Lukas Cryl Cold Grey
Drybrush 2: Waco - Lichtgrau (light grey)
Windows and door frame: Vallejo Brown
Windows and door frame drybrush: GW Citadel Calthan Brown
Window "glas" : Vallejo Pale Greyblue
Total sizing with roof:
Length : 8cm
Wide: 6,5 cm
Height: 5 cm
Total sizing without roof:
Length as above
Wide as above
Height: 3 cm
pictures here:
Sonntag, 22. Juli 2012
Flames of War (Tutorial) - Selfmade River sections
Still the problem with my table is that it lacks different things. One is a river and I guess you could do roads the same way. Cheap and easy:
Nest steps will be silicone on the river sections blue stuff and work a spoon on that .
Flames of War (Tutorial) - Bockage and other delights
As I have two dogs I used to take them out for walks a couple of times a day. Always keeping my eyes open on stuff to use.
Small sticks, etc...
Enjoy the part results
Small sticks, etc...
Enjoy the part results
Flames of war (Tutorial) - House casting - Part 1
This week was really busy. After measurementing really much on how to scale a house for Flames of war I tried my luck with Liquid Latex and some plaster.
Result is not finished yet as it is still drying. Lessons learned here is to wait till you get your lego blocks to have a proper really even sealing. That makes casting way much easier.
What a mess :)))
Result is not finished yet as it is still drying. Lessons learned here is to wait till you get your lego blocks to have a proper really even sealing. That makes casting way much easier.
What a mess :)))
Montag, 9. Juli 2012
Flames of War (Tutorial) - Trenchlines with MG Nests and Backwall
After some feedback I added some more backside stuff. Enclosed are pictures of my Panzergrenadier Platoon as well as the PAK !
Enjoy
Enjoy
Dienstag, 3. Juli 2012
Flames of War - New Order today - US Force - Last German forces right now
1 1 Stk BFUS732 Rifle Platoon (latewar) (US732)
2 2 Stk BFUS102 M10 3in GMC (US102)
3 1 Stk BFUBX10 M18 Hellcat Tank Destroyer Platoon (x4) UBX10
4 2 Stk BFUS723 Parachute Rifle Platoon (US723)
5 3 Stk BFUS042 M4A1 Sherman (US042)
6 1 Stk BFUBX05 M4A1 (76mm) Tank Platoon (UBX05)
7 1 Stk BFGBX21 Ernst Barkmann (+Panther A & Workshop) (GBX21)
8 1 Stk BFGE123 StuG G - StuG III (GE123)
As always ordered at: www.fantasywelt.de
2 2 Stk BFUS102 M10 3in GMC (US102)
3 1 Stk BFUBX10 M18 Hellcat Tank Destroyer Platoon (x4) UBX10
4 2 Stk BFUS723 Parachute Rifle Platoon (US723)
5 3 Stk BFUS042 M4A1 Sherman (US042)
6 1 Stk BFUBX05 M4A1 (76mm) Tank Platoon (UBX05)
7 1 Stk BFGBX21 Ernst Barkmann (+Panther A & Workshop) (GBX21)
8 1 Stk BFGE123 StuG G - StuG III (GE123)
As always ordered at: www.fantasywelt.de
Abonnieren
Posts (Atom)