Just browsed around the web on search for useful stuff for my Flames of War table and came across the Rapid Fire website.
On this you will find a free download for roadsigns, warning signs, and all the other useful battlefield signs in PDF format to download. The person who did this great collection job here is: Chris Woffenden.
The direct Link is here:
http://www.rapid-fire-uk.com/?file_id=60&osCsid=
Montag, 17. September 2012

Flames of War Spanish Magazine ! Very useful resource
As I am always looking for new stuff for building and scenarios i stumbled across a spanish website. I do not speak or can read spanish, but with a bit of fantasy you can adapt some stuff for your own table or scenarios.
The website :
http://www.flamesofwarspain.com/
What you will find there ?
A lot of useful magazines (in spanish and partly in english) with things to build for your own wargaming table as well as scenarios and army lists.
Even though I am not a native speaker I am happy to share this link with you as this also provides help for dayly Flames of War business.
The website :
http://www.flamesofwarspain.com/
What you will find there ?
A lot of useful magazines (in spanish and partly in english) with things to build for your own wargaming table as well as scenarios and army lists.
Even though I am not a native speaker I am happy to share this link with you as this also provides help for dayly Flames of War business.
Sonntag, 16. September 2012
Great Flames of War free independend supplement Early War for Download
While taking a look on my favourite blogs I stumbled upon a really great early war supplement from a freestyle author. It is an ongoing project there others may participate.
It is called:
The september campaign "The polish collapse".
Just check it out here:
The September Campaign - Flames of War
It is called:
The september campaign "The polish collapse".
Just check it out here:
The September Campaign - Flames of War
Samstag, 15. September 2012
Flames of War (Tutorial) - Basing Infantry on rural ground
There are possibly thousands of posts on how to base infantry on the bases for wargaming games. Correct.
Lately I found my personal best way of doing so.
What is needed:
Base - Plasticcard, bought ones, mdf , whatever suits you best
Filla- I am using the one by Polycell as it is really wet and easy to handle
Colours - for my purpose I am using as a basecoat colour Citadel "Calthan Brown" and
for highlighting Vallejo 873 "US Field Drab"
Flock - every flock will do. If you want it as colourful as here in my boy feel free to add some sand or mix different flocks
The technical details:
First I take my already painted miniatures and arrange them on the bases without glueing them. It is just to get an impression how all should look like.
Second step is to remove all the figures again and it is up for the filla. Start pasting it on the base without making it a flat piece of "earth". Mother nature always likes things a bit disorderly on the ground. So no worries if it is not a flat piece but some sort mixed up piece of land.
Third step. As the filla is still wet and as I did not write anything regarding superglue etc... it is time to take the miniatures and to press them into the wet filla till it reaches the base. Use either a knife or on old brush to fill something in the gap between the legs.
Fourth step..... drying. Normally I let the stuff dry one day, but filler tends to harden quite fast so you should be able to work on after approx 15 minutes. Test if all miniatures are secured by the filler. If not then use superglue.
Fifth step...basecoat the filler with Citadel "Calthan Brown".Please be careful as the miniatures are already on your base that you do not paint the shoes new. If you leave out a small section around the miniatures that doesnt make any problems.
Sixth step.... wait till the basecoat is dry. Then use Vallejo "US Field Drap" for highlighting the later higher ground areas of your base.
Seventh step.... use simple glue and your old brush to put on areas there you want the flock to be. In this step you can hide the areas there you did not dare to paint the basecoat and highlight colours easily.
Last Step... take your flock and pour it over your base. Wait a couple of seconds and then clean up the debris that does not stick... take a look at your result and make adjustments.
Advanced design:
between step three and four you can also start to add some extras. This could be:
- Small stones
- wood parts
- etc... simply everything you want to have on your base
Happy building
The pictures:
Things I use:


After basecoating:

Final result (advanced):


Final result (as described):

Lately I found my personal best way of doing so.
What is needed:
Base - Plasticcard, bought ones, mdf , whatever suits you best
Filla- I am using the one by Polycell as it is really wet and easy to handle
Colours - for my purpose I am using as a basecoat colour Citadel "Calthan Brown" and
for highlighting Vallejo 873 "US Field Drab"
Flock - every flock will do. If you want it as colourful as here in my boy feel free to add some sand or mix different flocks
The technical details:
First I take my already painted miniatures and arrange them on the bases without glueing them. It is just to get an impression how all should look like.
Second step is to remove all the figures again and it is up for the filla. Start pasting it on the base without making it a flat piece of "earth". Mother nature always likes things a bit disorderly on the ground. So no worries if it is not a flat piece but some sort mixed up piece of land.
Third step. As the filla is still wet and as I did not write anything regarding superglue etc... it is time to take the miniatures and to press them into the wet filla till it reaches the base. Use either a knife or on old brush to fill something in the gap between the legs.
Fourth step..... drying. Normally I let the stuff dry one day, but filler tends to harden quite fast so you should be able to work on after approx 15 minutes. Test if all miniatures are secured by the filler. If not then use superglue.
Fifth step...basecoat the filler with Citadel "Calthan Brown".Please be careful as the miniatures are already on your base that you do not paint the shoes new. If you leave out a small section around the miniatures that doesnt make any problems.
Sixth step.... wait till the basecoat is dry. Then use Vallejo "US Field Drap" for highlighting the later higher ground areas of your base.
Seventh step.... use simple glue and your old brush to put on areas there you want the flock to be. In this step you can hide the areas there you did not dare to paint the basecoat and highlight colours easily.
Last Step... take your flock and pour it over your base. Wait a couple of seconds and then clean up the debris that does not stick... take a look at your result and make adjustments.
Advanced design:
between step three and four you can also start to add some extras. This could be:
- Small stones
- wood parts
- etc... simply everything you want to have on your base
Happy building
The pictures:
Things I use:


After basecoating:

Final result (advanced):


Final result (as described):

Freitag, 14. September 2012
Flames of War (Tutorial) : How to build simple houses / barns for Wargaming
Lets start with a Tutorial for houses and barns in 15 mm style.
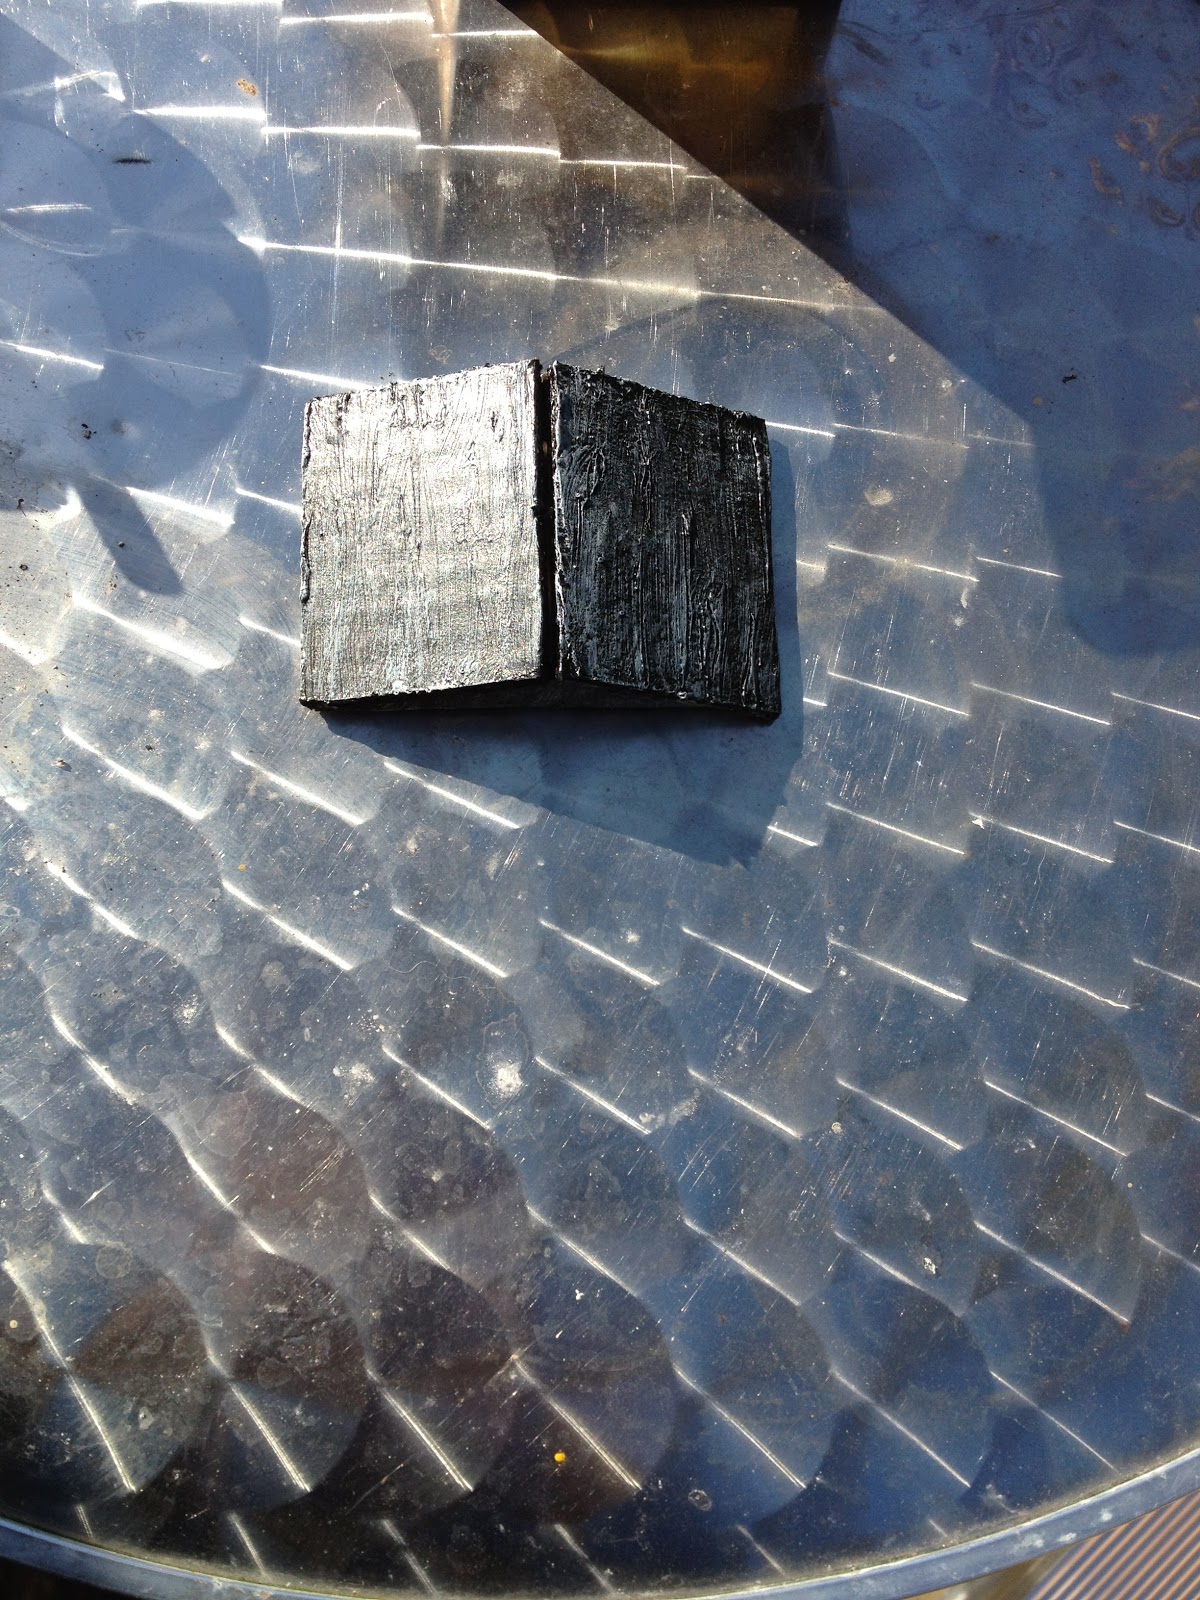
My first impression and hinderance was scaling the whole house. So I took two medium bases by FoW and added 2,5 mm on each side. That makes a house worth 8 by 6,5 cm (wide and length). For getting it high enougth I took some sample miniatures and scaled approx 2,5 to 3 cm for the first floor. The roof is again another topic. At this tutorial it is approx 2 cm heigh.
After doing the initial drawings on a piece of paper I transfered it to an old and unused papercard and cut it out with a knife. After that I basecoated it with a special paper basecoat so that it does not crumple somehow and then basecoated it with the real paint. A bit of drybrushing and glueing made a perfect barn for anythere during WW2...
For the colours used here:
Basecoat: Styropor Grundierung "Ideen mit Herz"
Basecoat colour: GW Citadel Undercoat Black
Drybrush : Lukas Cryl Cold Grey
Drybrush 2: Waco - Lichtgrau (light grey)
Windows and door frame: Vallejo Brown
Windows and door frame drybrush: GW Citadel Calthan Brown
Window "glas" : Vallejo Pale Greyblue
Total sizing with roof:
Length : 8cm
Wide: 6,5 cm
Height: 5 cm
Total sizing without roof:
Length as above
Wide as above
Height: 3 cm
pictures here:




Sonntag, 22. Juli 2012
Flames of War (Tutorial) - Selfmade River sections
Still the problem with my table is that it lacks different things. One is a river and I guess you could do roads the same way. Cheap and easy:


Nest steps will be silicone on the river sections blue stuff and work a spoon on that .


Nest steps will be silicone on the river sections blue stuff and work a spoon on that .
Flames of War (Tutorial) - Bockage and other delights
As I have two dogs I used to take them out for walks a couple of times a day. Always keeping my eyes open on stuff to use.
Small sticks, etc...


 Enjoy the part results
Small sticks, etc...


Abonnieren
Posts (Atom)